How to build a fence from pallets is another term used. Pallets are a versatile commodity. A pallet can be functional in delivering and receiving of packages, products and even people. But did you know that pallets can also be used for other things? They are often discarded once they have served their purpose in moving product from one spot to another. They can also be reused for other purposes.
Building a garden fence can be a fun project for the whole family, and also help you protect your prized vegetable plants from hungry rabbits. Here’s how to build a rabbit fence around raised bed gardens.

How to build a fence garden
The best way to build a fence is to use t-posts. T-posts are easy to set in the ground and you can use them to attach your fence material.
If you have a lot of fence to build, it’s best to buy your posts in bulk. They are available at most hardware stores and home improvement stores.
To build a garden fence with T-Posts:
1) Measure out the length of your fencing material and cut two pieces that are six feet long (or whatever length you need).
2) Use a post hole digger to dig holes for each post about eight inches deep and about four inches apart from one another.
3) Use a level or plumb line to make sure that your posts are straight up and down in the ground.
Fencing is a great way to protect your garden from animals and keep it private. A fence can also serve as a decorative element for your yard. You can choose from several different materials for your fence, including wood, metal, plastic and chain link.
A basic fence consists of four posts that are set in the ground at regular intervals and connected by boards or wires. In this article, we’ll show you how to build a basic wood fence with t-posts.
Step 1: Measure Out Your Fence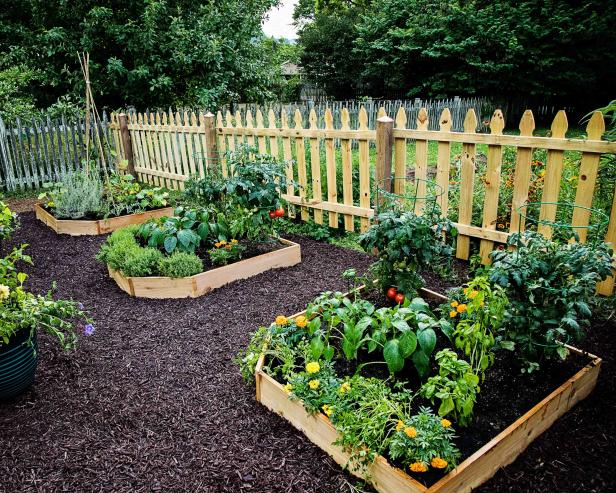
Measure out the location of your new fence on the ground with stakes and string. Make sure that there’s enough clearance between trees or other obstacles and that it’s level with the ground. Mark where you want each post to go with stakes and string.
Step 2: Dig Holes for T-Posts
Dig holes for t-posts using a post hole digger or auger bit on an electric drill. Dig holes deep enough so that the tops of the posts will be level with the surface of the ground after they’re set in place (about 8″ deep). If you’re using pressure-treated wood or cedar, make sure to use treated screws as well as treated nails when attaching boards to posts; these will last longer than untreated nails
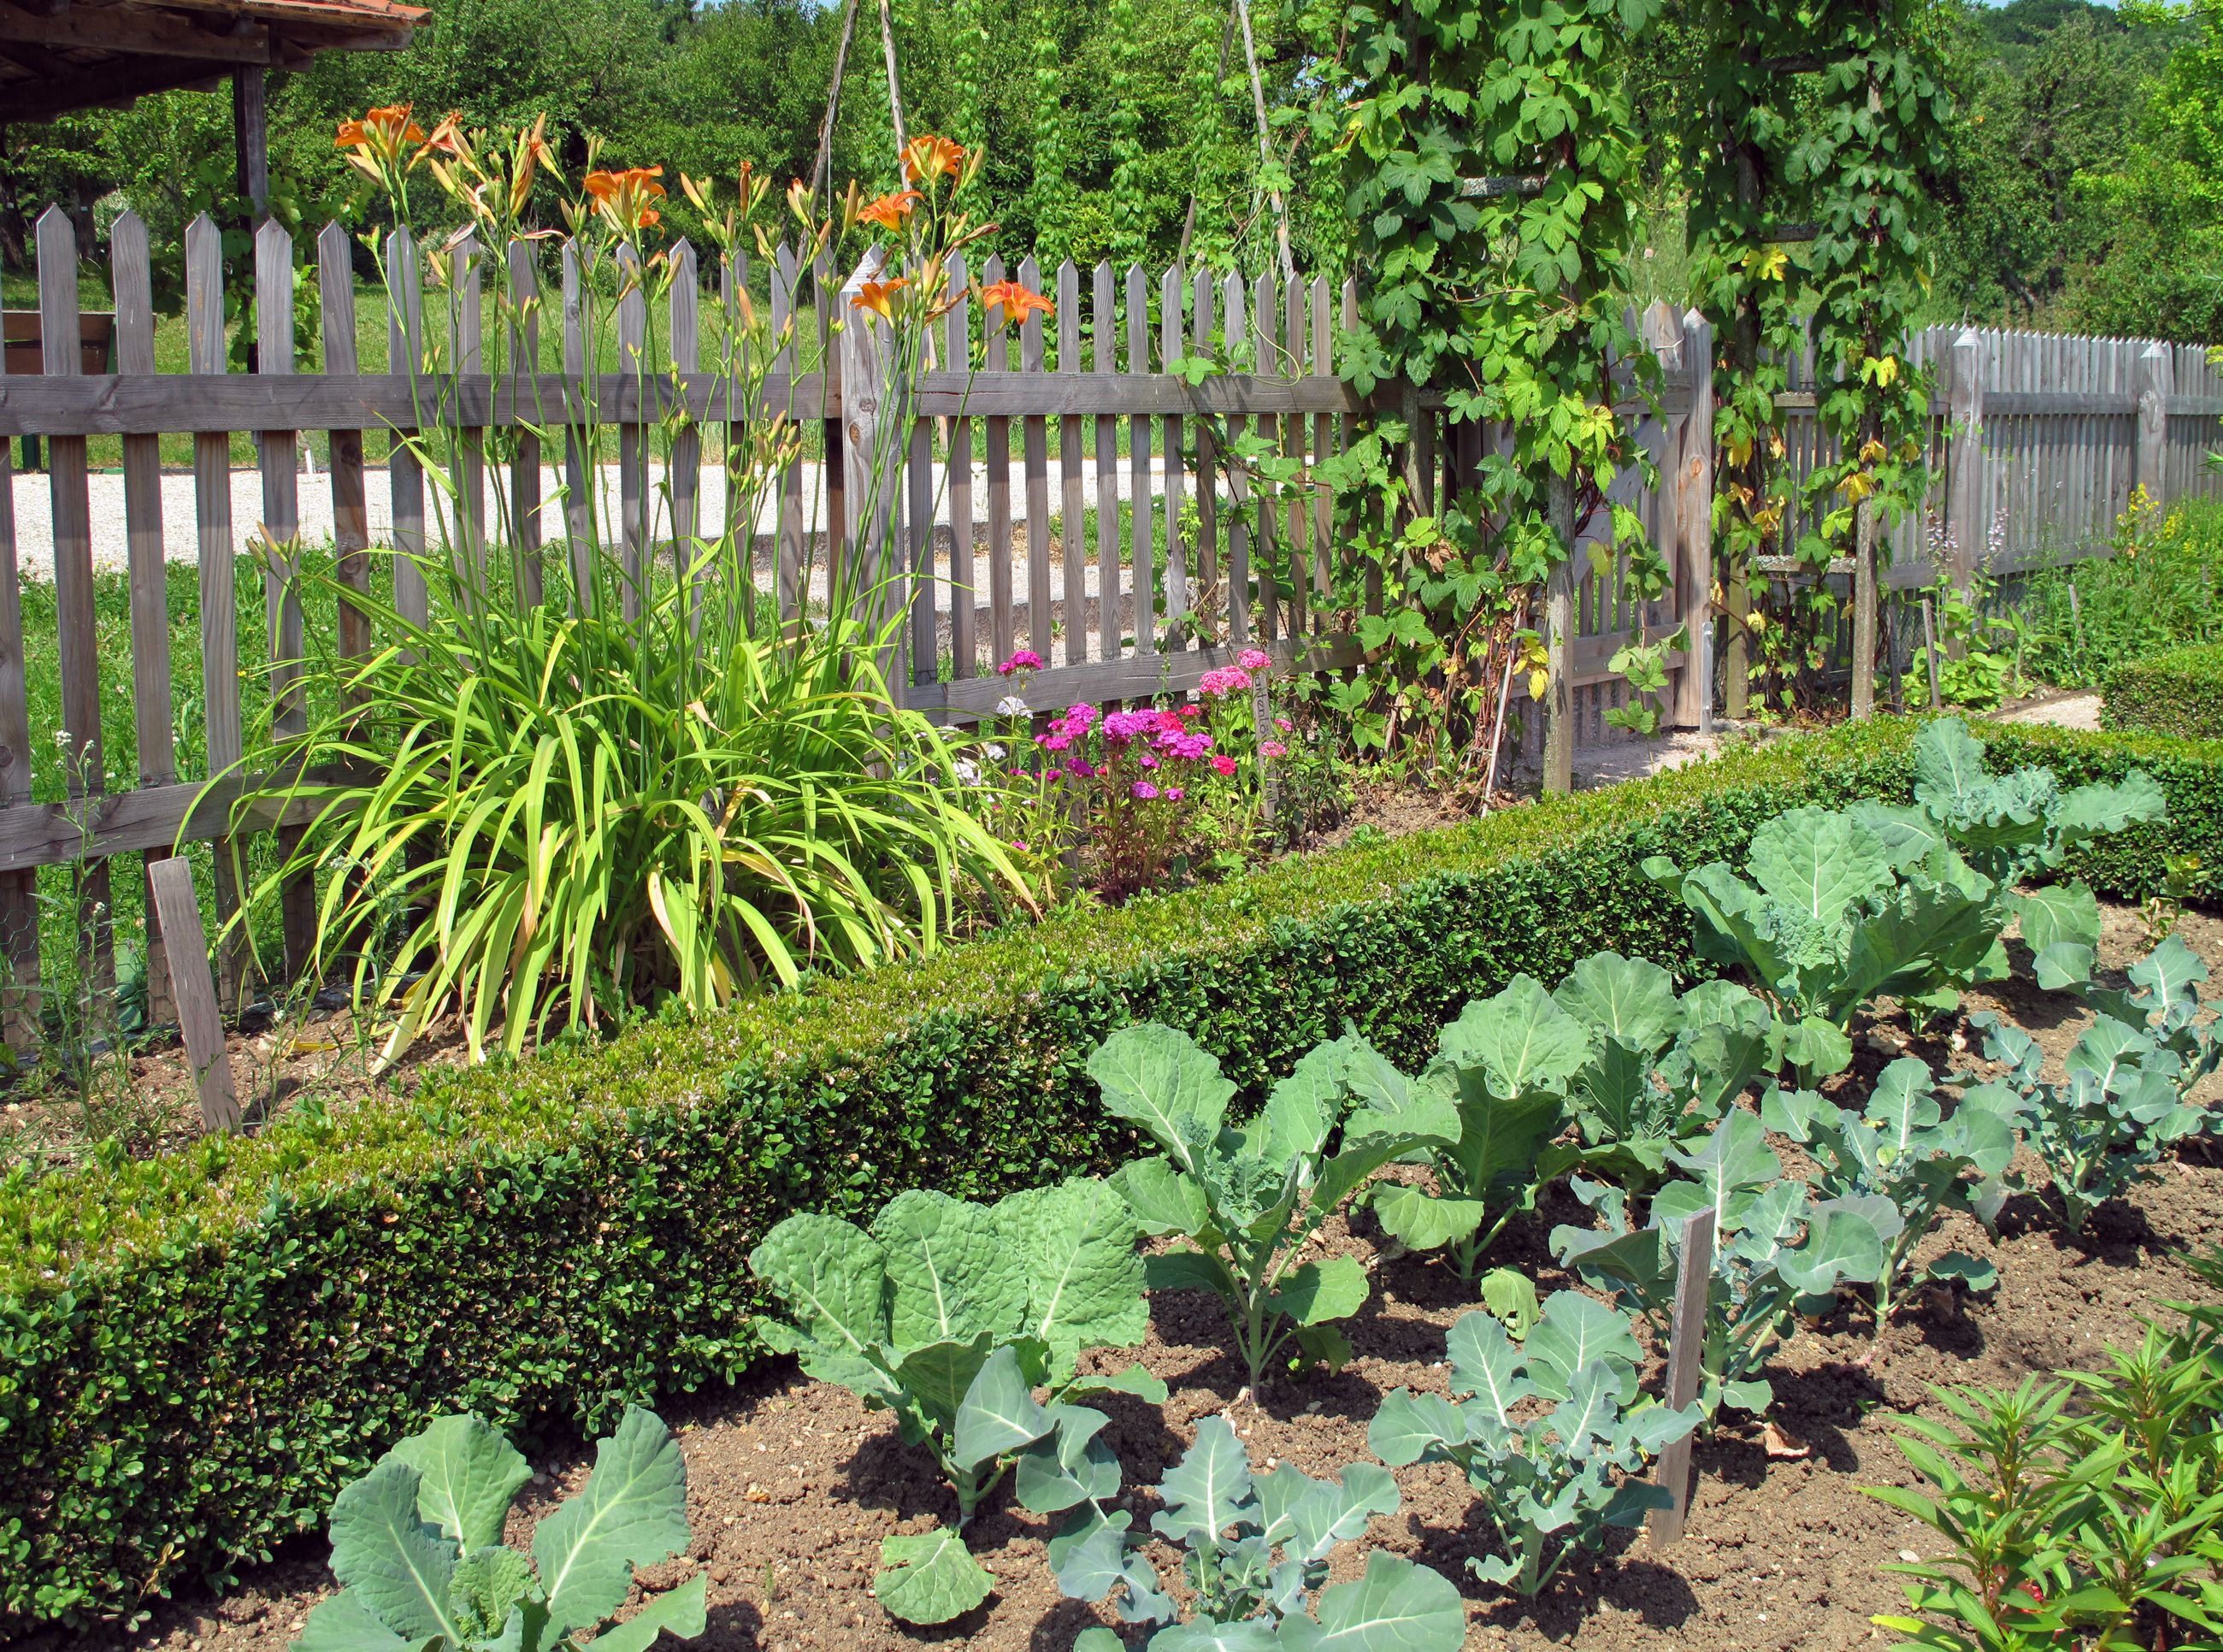
Building a fence garden is one of the easiest ways to add beauty and privacy to your backyard. Whether you’re looking for a simple wooden fence or one with more ornate details, building a fence garden can be done in just a few hours.
Planning Your Fence Garden
Before you start building your fence garden, take time to plan out how you want it to look. Consider how many posts you need, where they should be placed and what type of wood will work best for each section of the fence. You might want to build your fence with t-posts if you want it to stand up straight without using support beams or posts on either side of the gate. You’ll also need to decide how high off the ground you want your fence and whether or not you want any gates or walkways in between sections of fencing.
A fence garden is a type of garden that incorporates a fence in its design. The fence can be any size, but it should be sturdy enough to withstand the weight of the plants growing against it. This simple garden can add charm and privacy to your yard.
Step 1: Determine the Size of Your Garden
The first step in building a fence garden is determining how large you want your garden to be. This will help determine how many posts you need as well as how long your fencing needs to be. If you plan on planting along all sides of your yard, then you could have several rows going in different directions.
Step 2: Measure Your Yard
If you are going to plant along all sides of your yard, then measure how many feet there are between each post location so that you know how far apart they should be spaced. Use stakes or tape measures to mark off this distance so that you can measure accurately when it comes time to dig holes for each post.
Step 3: Dig Holes for Your Posts
Use a post hole digger or auger drill attachment on your power drill to make holes where you want posts installed (see picture at right). Make sure that each hole is deep enough so that
How to Build a Garden Fence
A garden fence is more than just a barrier that keeps your children and pets from wandering off into the yard. It’s also an attractive addition to your landscape, especially if you plant vines or climbers on it. You can build a garden fence out of almost any material, including wood, stone and wire mesh.
Wood fences are often made of cedar or redwood, which are rot-resistant and last for years if properly maintained. Stone fences can be made from natural stone such as limestone or granite or from man-made materials such as concrete pavers, brick and even glass blocks. Wire mesh fences are usually made from galvanized steel or aluminum, but can also be constructed from plastic mesh.
Garden Fence Materials
Fences come in many styles and materials, but they all have certain things in common: posts, rails and pickets. Posts anchor the fence in place while providing a foundation for attaching railings; rails are the horizontal pieces that stretch between posts; and pickets are vertical pieces that form the actual fence itself.
Depending on what kind of materials you choose for your fence, you’ll need different tools for construction. If you’re building a wood fence with treated posts
How To Build a Rabbit Fence for Raised Garden Beds
– The first step to building a fence for raised garden beds is to determine what type of fencing you want to use. You can use wood, metal or plastic fencing. Wood fences are often used because they are inexpensive and easy to install, but they are easily damaged by rabbits. Metal fences are more expensive but will last longer than wood fences and can be designed to match your home’s exterior color scheme. Plastic fencing is the most expensive option but lasts longest and blends in with any home’s exterior design scheme.
– The next step is deciding on what type of posts you want to use for your fence. T-posts are the most common option because they’re easy to install and inexpensive, especially if you buy them in bulk from a wholesale supplier like Amazon ( see link below ). For added durability, you may also choose to use telephone poles or treated wood posts instead of t-posts. Telephone poles will give your fence more stability but cost more than t-posts, while treated wood posts will last longer but cost more than t-posts when purchased online from online suppliers like Amazon ( see link below ).
There are several ways to build a raised garden bed.
If you want to enclose the area, or keep out critters, then you will need to build a fence around the entire perimeter.
If you don’t want to worry about fencing, you can use posts in the ground and then line them with chicken wire. The only thing that might get into your garden is rabbits. We have a rabbit problem, so I decided to build a rabbit fence around my raised garden bed.
I used t-posts and wire to make this fence because it was easy and fast, but I would recommend using metal T posts instead of wooden ones if you can find them in your area (the metal ones won’t split and break off), but if not there are ways around that too!
1. Set the Posts
The easiest way to build a rabbit fence is to use existing t-posts and run the fence material between them. If you don’t have any t-posts in your yard, you can buy them at most garden stores. They’re also fairly inexpensive and easy to install.
Dig holes for each post about 2 feet deep, 2 feet apart and about 6 inches from each side of the raised bed (or closer if you want a smaller fence). Tap each post into the ground with a sledgehammer or mallet until it’s secure (be sure not to hit the post too hard or it may split and break). If you have trouble with this step, ask a friend or neighbor for help.
2. Attach Wire Mesh To The T-Posts With Staples Or Screws
To attach wire mesh, you can either use staples or screws. Staples are easier to install but tend to leave sharp burrs on the outside edge of the wire that will snag clothing and tear up hands when working in your garden bed. If using staples, predrill holes in the wire mesh before attaching it to each t-post with several staples spaced evenly along each edge of the mesh (the spacing will depend on how thick your wire mesh is
A rabbit fence is an easy way to keep rabbits out of your garden. The fence can be made from old fencing or wire, or you can use new materials. Rabbits are notorious for jumping over fences, so the fence needs to be at least 2 feet tall.
Rabbits like to nibble on young plants, but they will also eat mature plants as well. The most important thing is to keep them out of your garden until the plants are big enough to withstand a nibble or two.
You can build fences around raised beds or along their edges with t-posts, which are more expensive than other types of posts but very durable and good for heavy loads such as wire fencing. It’s possible to attach chicken wire directly to the posts using staples or screws, but it’s more difficult than attaching it by running a wire between each pair of posts and wrapping the chicken wire around them.
1. Purchase 4 T-posts, a hammer and some nails. You can purchase these online or at your local home improvement store. The posts should be long enough to reach all the way through the garden bed and into the ground.
2. Place the first T-post into the ground, making sure it is level with the top of the raised bed frame. Nail it into place using four nails. Repeat this process until you have four posts in place, one on each corner of your raised garden bed frame. They should be evenly spaced apart from one another so that they don’t look too crowded or uneven once your wire fence is installed.
3. Stretch chain link fencing around each post so that it rests against them about an inch above ground level. Use pliers to tighten screws or twist nuts onto threaded rods so that they stay securely in place without slipping out or moving around as you work with them later on in this project!