It’s hard to believe that someone still has not discovered the basics in blogging. But, it is still a fact that even some of the older people who work in this field don’t know all the ins and outs. Blogging is a booming business, and you genuinely need to be familiar with it. If you’re trying to get more readers for your blog but aren’t sure how, then you’ve found the right article to read. This article will give you a little general idea about blogging, starting from what a blog is, all the way until we get to the wordpress upload via cpanel .

Upload WordPress Theme Via Cpanel
WordPress is a free and open source content management system (CMS) based on PHP and MySQL. It uses a template engine to provide dynamic page generation. It is most commonly used as a blogging tool or a website framework.
WordPress was first released in 2003 by its developers, Matt Mullenweg and Mike Little, as a fork of b2/cafelog. As of February 2011, WordPress is used by approximately 16.3% of all websites with more than 1 million visits per month, making it the most popular blogging system in use on the Web.
The name WordPress was originally coined by Matt Mullenweg to describe the software project he started to make use of the b2 open source software application created by Michel Valdrighi (itself an early version of what would later become WordPress), while working on his personal blog at matthewmullenweg.com. The word press comes from the fact that much like modern printers are pressed against paper or ink on a printing press, Mullenweg’s blog was being “pressed” against his personal website.
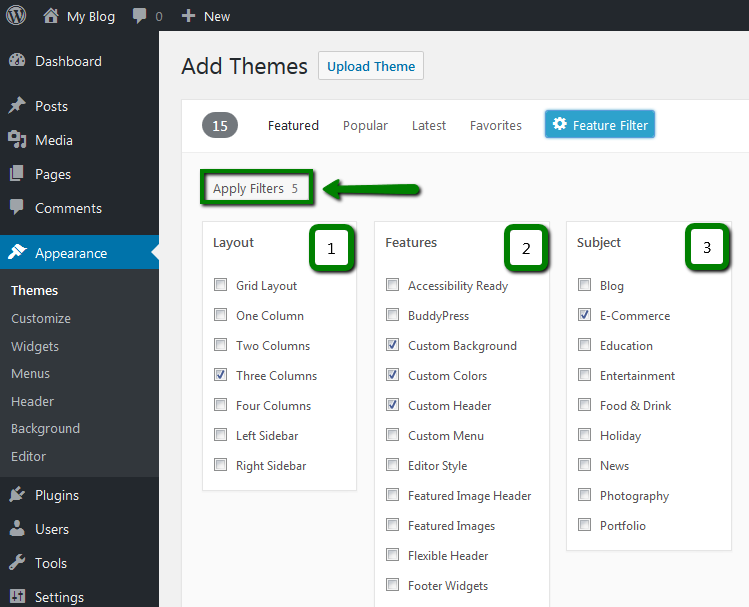
How to Upload WordPress Theme to Cpanel
Uploading a WordPress theme is a very easy process and can be done through the cPanel. This article will walk you through the steps on how to do this.
Before uploading your theme, you need to make sure that it is zipped up into a .zip file and that it has no special characters in its name. You also need to make sure that there are no spaces in the folder names as well.
Step 1: Log into your web hosting account.
Step 2: Go to the icon that says ‘File Manager’ or ‘File Transfer’ or something similar depending on your hosting company.
Step 3: Click on it and then click on ‘upload files’ or something similar depending on your hosting company.
Step 4: Click on ‘Choose File’ and then find where your .zip file is located on your computer and select it. Then click ‘Upload’ or something similar depending on your hosting company.