Picture this. You have a block foundation under your house, but the original porch posts were pine and need to be replaced. Just for kicks and giggles, you decide to replace them with concrete block instead.
Installing a post on concrete is best done using the post footing adapters. Normally, the concrete floor is poured at least 24 inches thick, but it is not always possible to get a 24 inches thick slab in all cases. The porch post installation is one of the projects where you will see that it is almost impossible to get a 24 inches slab especially on the top of the structure.
How to install porch post on concrete
The most common way of supporting exterior columns is with a box column. A box column is simply a rectangular wooden box that surrounds the post. You can buy them premade, or build your own. Here’s how:
Step 1: Cut the wood into the right size
Measure the post’s diameter and add an inch for the width of your box. Then cut two pieces of wood the length of these measurements by using a handheld circular saw (or use a table saw if you have one). Your boards should be 4 inches wide and 2 inches thick. Sand down any rough edges before moving on to step 2.
Step 2: Install the bottom plate
Attach one piece of wood to the base of your porch post by driving three screws through the bottom plate into each side of it. The bottom plate should fit snugly against and overtop of your concrete footing without falling off or rotating around when you push down on it from above. If it’s loose, you’ll need to add some glue to hold it in place until it dries completely (make sure not to use too much!). If it doesn’t fit
How to install porch post on concrete
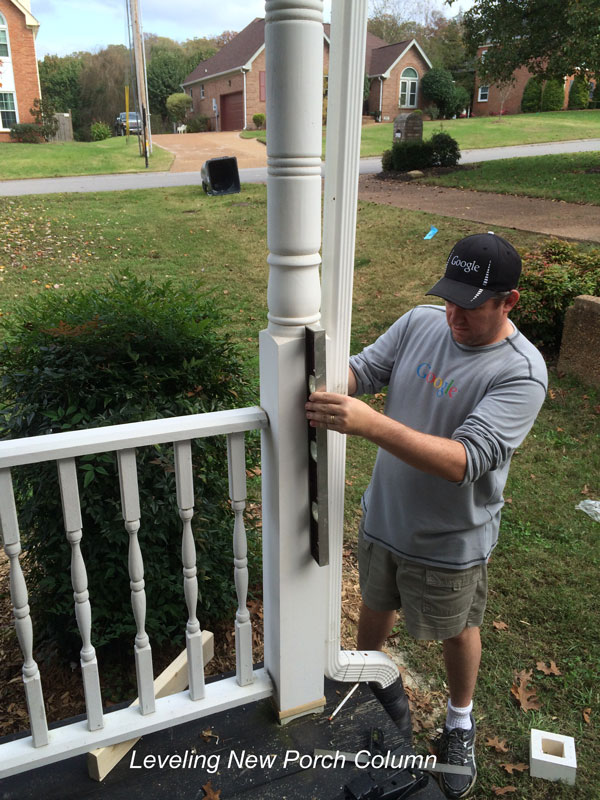
Installing a new porch post can be tricky. You want to make sure that the post is set in concrete so that it is sturdy and secure. You also want to make sure that the post will be level and straight, which can be difficult if you are not skilled at construction work. The best way to do this is to build a box column around the existing column, which gives you something to measure from when you pour the concrete into place.
/cdn.vox-cdn.com/uploads/chorus_asset/file/19496179/03_porch_posts.jpg)
Measure the height of your existing porch column. Measure from ground level up, as this is where your new box column will go. Cut two sheets of plywood into pieces that are two inches shorter than your measurement. These will form the top and bottom of your box column frame, so they need to fit snugly together without gaps or holes when they are assembled later on.
Measure 2 inches down from the top of each sheet of plywood and draw lines across both sheets from side-to-side at these points with a pencil; this will help align both sheets together when they are joined later on in Step 4 below). Attach one sheet of plywood onto another with wood glue or staples; this will form
This post will help you learn how to install porch post on concrete.
1.Make sure your foundation is level
You want your box columns to be level with the ground, so make sure you have a level surface before you start. You can use a laser or a bubble level, but the most accurate way is to use two batter boards and shims to make sure they are both perfectly level. If one side is higher than the other, use shims under the batter boards until they are both level. This is especially important if you are building a deck over an existing concrete slab, because you want your deck to be level with the ground.
2.Dig holes for posts
Dig holes for your posts using either a post hole digger or a masonry bit on your power drill. You can also rent an auger from your local tool rental store if you don’t have access to power tools at home. If you’re digging through hardpan soil, add some sand first so that it’s easier for the auger bit to penetrate through it without getting stuck or breaking off bits of rock in its wake (which could shatter when hit by
How to Install Porch Posts on Concrete
Installing a new porch post is an easy do-it-yourself project that you can finish in a weekend. The post will support the weight of your deck and provide a foundation for attaching other components like railings, stairs and floor joists.
Step 1: Dig the Hole
Dig a hole at least 2 feet deep for each post. The hole should be wide enough so that you can set the post in it without having to bend it or force it into place, and it should be at least as deep as the length of the concrete footing that goes around the bottom of the post (see Resources). You may need to add more dirt after digging the hole, depending on how much dirt needs to be removed from around the area where you will place your footings.
Step 2: Lay Out Your Fence Posts
Place one of your fence posts in the center of your trench with its top edge even with ground level and its bottom edge level with your excavation depth. Make sure that all four corners are square by measuring diagonally from corner to corner across each face of each corner cutout using a tape measurer or ruler; adjust if necessary to ensure
Installing a porch post on concrete is not difficult, and you only need a few tools to get the job done. You will need a level, a chalk line, a hammer and nails, a tape measure and some concrete anchors.
Step 1 – Draw the Placement of the Post
Draw your post in place on the concrete slab using chalk and a piece of string or rope. Make sure that it is level and plumb (vertical). If you are using an existing column, make sure that it is square with the house foundation. An easy way to do this is to use a plumb bob (a weight on the end of string) from each corner of the house foundation to each corner of the existing column. If they are not square, you can use your circular saw to cut off one side of them until they are both square with each other and horizontal with the ground.
Step 2 – Mark Out Your Layout With Concrete Anchors
Use your chalk line as a guide for placing your concrete anchors at intervals around your post location perimeter so that they fall just outside of it so that when you attach it later on, there will be room inside for wiring without interference from them