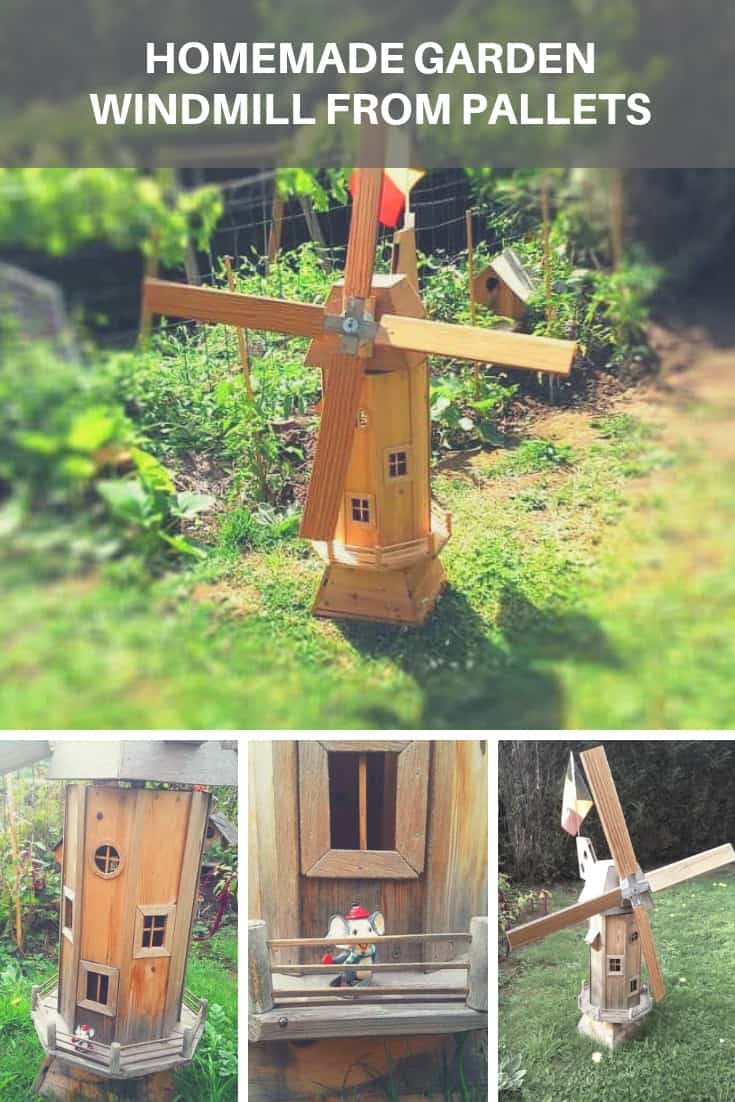
A Wood Windmill is a great addition to your home, yard or farm. It provides both a beautiful accent alongside an important use. Build one within 1 day and with under $200 in materials. Let’s get started!
Almost every part of a windmill is made of wood. The blades, hub, and everything else, how to build a small wooden windmill, how to build a wind turbine from scratch. Most of the tools that you need for building your own windmill are hand tools and power tools.

How to build a wood windmill
Wind power is a renewable energy source that can be used to generate electricity. The windmill is one of the oldest and most common ways of harnessing the power of the wind for mechanical work.
A windmill can be used to pump water from wells, grind grains or just turn gears. It’s also a good way to generate electricity by converting the kinetic energy of rotating blades into electrical current.
This article provides instructions on how to build a simple windmill from scratch. I’ve included some suggestions on building materials and tools you’ll need in order to complete your project successfully.
Small wooden wind turbine base
The first thing we will do is make the base for our turbine. This is important because it serves not only as a support for our turbine but also as an anchor point so that we can mount our blades properly onto it later on in this tutorial.
A small windmill is a great project for the beginner woodworker. This article will help you with how to build a wooden windmill from scratch. It is an easy project that will give you hours of enjoyment and provide some of your first experiences with woodworking.
The first step in building a small wooden windmill is to select the right plans or design for your needs. There are several different designs available on the Internet; some are free while others require payment. The choice is up to you, but always make sure you read through all the plans before making your selection.
Once you have selected a plan that meets your needs, it’s time to start gathering materials and tools. Depending on what type of materials you plan on using (such as plywood or 2x4s), this can be done at any time before starting construction on your new windmill.
The next step is to build the base of your windmill using whatever materials were used in selecting your design plans. Since most plans use plywood for this part of the construction process, we’ll assume that’s what you’ll be using too!
To make sure everything fits together properly, draw out each piece on paper such as graph paper so that they all line up correctly before cutting them
How to build a small wooden windmill in one weekend
This article will show you how to build a small wooden windmill. If you want to build a large windmill, check out my other article on building a large wooden windmill. This is a fairly simple project that can be completed in one afternoon if you have all the materials ready. Here are the steps for building your own small windmill:
Step 1: Buy all the materials needed for the project
The first step is to buy all the necessary parts and materials needed for your project. You can purchase these items at your local hardware store or home center. The most important thing to remember when shopping is that you need something that will spin freely when placed on top of its pivot point (see picture). You also want something that is lightweight so it doesn’t add excess weight to your structure. For example, plastic milk bottles are great for this purpose because they are lightweight and easy to spin fast enough to generate electricity from wind currents.
For this particular project I used plastic milk bottles filled with water as weights at each corner of my base structure. You will also need baling wire or zip ties so that you can securely fasten your motor
A windmill is a device that converts the energy of wind into rotational energy by means of vanes called sails or blades. Centuries before the industrial revolution, windmills were used to mill grain, pump water and machinery, perform many industrial tasks and to generate electricity using mechanical power. The first known reference to a windmill is from the Roman author Vitruvius in his work De Architectura published circa 25 BC.
Windmills are generally large structures, mostly built of wood, able to catch the wind and convert it into useful tasks like grinding corn or pumping water. They are usually located on high ground so as to make use of the best winds, although there have been some successful designs for low-altitude operation or even underwater operation.
The invention of the windmill was a significant milestone in human history because it allowed people to harness energy from nature and make their own electricity instead of relying on other sources such as solar power (which has its own drawbacks).
A windmill is a mechanical device that converts kinetic energy from the wind into rotational energy by means of vanes called sails. The action of wind on these sails causes them to rotate, thus converting the wind’s kinetic energy into useful mechanical energy. Windmills are generally used for generating electricity, pumping water for irrigation, draining water from low-lying land, grinding grain and other purposes.
Windmill designs may be classified by blade shape and type of motion. Windmills can be made from different materials such as timber or steel and have been used to grind grain and draw up water since ancient times. There are now more than 30,000 working windmills in the world.
How to build a small wooden windmill
Windmills are a great way to generate clean energy and use it to power your home or business. A windmill can be used to pump water, grind grain, or generate electricity. There are many different designs for windmills, but here we will focus on building a small wooden windmill.
First of all, you need to know how much horsepower your windmill needs in order to function properly. A small wooden windmill should have at least 1/2 HP (horsepower). This will give you enough power to grind grain and pump water at an efficient rate.
If you want to build a small wooden windmill for pumping water, then you need to find out how deep the well is where you will be installing the pump mechanism. The deeper the well is, the more power your pump will need in order to pull up enough water at one time (or push down enough air when pumping).
The next step is finding out what type of wood material works best for this project and how much of it you need for each part of the design. You also need to determine how big or small each piece should be based on how big or small your finished product will be once assembled together
A small wooden windmill is a good project for the beginner. It makes a great gift, too. The windmill can be built in a weekend and requires only basic tools and skills.

The design shown here was inspired by an old barn that once stood on the farm where I grew up. It has been modified to make it easier to build, but the overall effect is much like the original.
Wooden Windmill Base
The base is made from 2x4s (two-by-four) lumber and plywood (Photo 1). The 2x4s are joined with wood screws and glue to form an octagonal shape of four sides and eight corners (Photo 2). The plywood bottom rests on top of the 2×4 sides, which prevents it from blowing away when there’s no wind or when you’re not around to keep it anchored down. Cut out two pieces of plywood so they’re slightly larger than the inside diameter of your base frame; this way they’ll overlap on all four sides of each corner joint and provide better support for holding in place while you drive screws through them into adjoining pieces of lumber.
The windmill is a very old and simple device, but it was still in use in the 20th century. It is used to pump water from the well or lake, which is not powered by electricity. The windmill works on the principle of the turbine, which rotates when there is a draft. It can be used for pumping water or generating electricity. You can make your own windmill with your hands and use it for irrigation or other purposes.
A small wooden windmill is an excellent tool for irrigation, pumping water from wells and lakes and creating electricity. There are many different designs for these machines, but we will tell you about one of them that will help you build a small wooden windmill from scratch.
Materials: plywood 22 mm (2 sheets), MDF board 20 mm (3 sheets), paint, polyurethane varnish, screws No 2 × 20 mm (50 pieces), screw No 2 × 16 mm (20 pieces), screw No 2 × 10 mm (10 pieces), screws No 3 × 8 mm (10 pieces), screws No 4 × 6 mm (10 pieces), bolts No 4 × 12 mm (8 pieces), nuts No 4 × 12 mm (8 pieces), nuts No 3 × 12 mm (8 pieces).
A small wooden windmill is a great way to generate power for your home or farm. They are easy to build, inexpensive and can provide all the power you need.
A small wooden windmill consists of a tower, blades and a tail vane. The tower is made from wood posts and supports the blades. The blades are attached to the top of the tower and spin when there is wind passing through them. The tail vane helps keep the turbine facing into the wind so that it can capture more energy from it.
The first step in building a small wooden windmill is to make sure that you have all of the materials needed before starting construction on your project. You will need:
Wooden posts/poles (10-12 feet tall)
Wooden dowels (4 inches long)
A drill with bits for both drilling holes and driving screws
A saw for cutting dowels or other items that may not be perfectly straight

There are three basic parts to a windmill: the blades, the hub and the tail. The blades are what catch the wind, and they spin around on the hub. The tail is a set of gears that connect up with your power system.
The first thing you need to know is how to build a wooden blade. Start by cutting out two pieces of wood that are 6 feet long by 1 foot wide by 1/2 inch thick. Make sure they’re both cut from the same board so they’ll be perfectly symmetrical.
Next, use a router with a roundover bit to shape all four edges of each blade so they’re rounded instead of square. Then sand down all surfaces until they’re smooth and free of splinters or rough spots so they won’t catch on anything when you mount them on the hub.
To make sure your blades are balanced properly, mark one end of each blade with a black marker or pencil and then flip it over so it’s facing down from where it was before — now it should also be marked at this end with black marker or pencil as well!