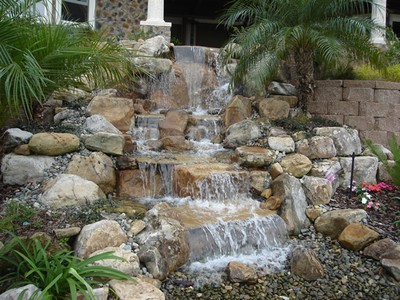
Building a water falls for your pond As you may know, ponds are essential part of successfull garden design. For example, The pond serves as a beautiful focal point and it is home to lots of textures and plants If you want to see how to build a waterfall for a pond.
I’m going to tell you how to build a waterfall for a pond and how to choose the components. Everything from how to build stairs, how to build a small pond waterfall step by step, how to build a pond waterfall with rocks, steps or ramps and the materials you’ll need for a pond, down to the plumbing and equipment needed.

How to build a waterfall for a pond
The waterfall is the focal point of any backyard pond or water feature. A pond without a waterfall is like a birthday without cake, or a wedding without a dress.
It’s also one of the most difficult elements to build, as you have to have a deep hole and then build up around it with rocks. But as with everything in life, there are ways to make it less complicated.
This guide will show you how to build a small pond waterfall step by step. We’ll also cover how to build a pond waterfall with rocks and how to build a small waterfall with rocks.
How to build a small pond waterfall step by step
Step 1: Get your supplies together. You will need a shovel, a sledgehammer, buckets and a wheelbarrow or cart to haul the rocks from the quarry. The larger your pond is, the more rocks you will need. For example, if you have a small fishpond that is 2 feet deep and 10 feet wide, you will need about 50-60 rocks. If your pond is much larger or deeper, you may need several hundred rocks!
Step 2: Find a quarry that sells rocks in bulk and get them delivered to the site of your new waterfall. Make sure they bring them right to where you want them because they are very heavy! Try to find something that looks natural like granite or limestone (it should feel cool). You can also mix these with other types of rock if you want some color variation or texture differences in your design.
Step 3: Once all of your rocks are unloaded from the truck and dumped into place along the edge of your pond, go through each one one at a time and look for cracks or fractures in the surface of each one (you can easily see these when holding them up to direct sunlight). If there are any cracks
A small waterfall for your garden or backyard can be a great addition. It provides a focal point and can be used to add some sound to your landscape.
Here are some steps on how to build a small pond waterfall:
Step 1: Choose the right location
The first thing you need to do is choose the right location for your waterfall. It needs to be visible from most of your yard, so that it’s not hidden away. Your waterfall should also be close enough to your house so that it doesn’t feel too far away from where you spend most of your time.
Step 2: Build the base for your pond
You’ll need a small pond for this project, but if you don’t have one already, you can make one out of wood or plastic sheeting like pond liner. You’ll also want something to hold the water in place, such as rocks or bricks, so that it doesn’t spill over onto the ground when it rains or when there’s heavy snowfall in wintertime.
Step 3: Find rocks for the top of your waterfall
Once you’ve built your base and filled it with water, start looking for rocks that will fit nicely into the shape of your waterfall and make sure they’re all
Building a waterfall is not a difficult task. You may be surprised at how easy it is to build a waterfall with rocks. The most important thing to remember when building a waterfall is that you will need to build it in sections. Each section of your pond should have its own waterfall. So, if you want a large waterfall in the middle of your pond, then you will need to build two smaller ones on either side of it.
Let’s take a look at how to build a small waterfall step by step.
Step 1: Assess the amount of rocks you will need for your project. You don’t want to buy more than what you need because some people find it difficult to transport large amounts of rock from home improvement stores or landscape supply centers. If you can’t get enough rocks from one location, then try another or ask friends and family members if they have any extra lying around in their yards or gardens!
Step 2: Find out if there is an existing stream or creek near where you want to place your pond (don’t worry if there isn’t). If there isn’t one nearby, then look for one online and use Google Earth satellite images in order to determine where it might be located on your property (see tip below).
How to Build a Pond Waterfall
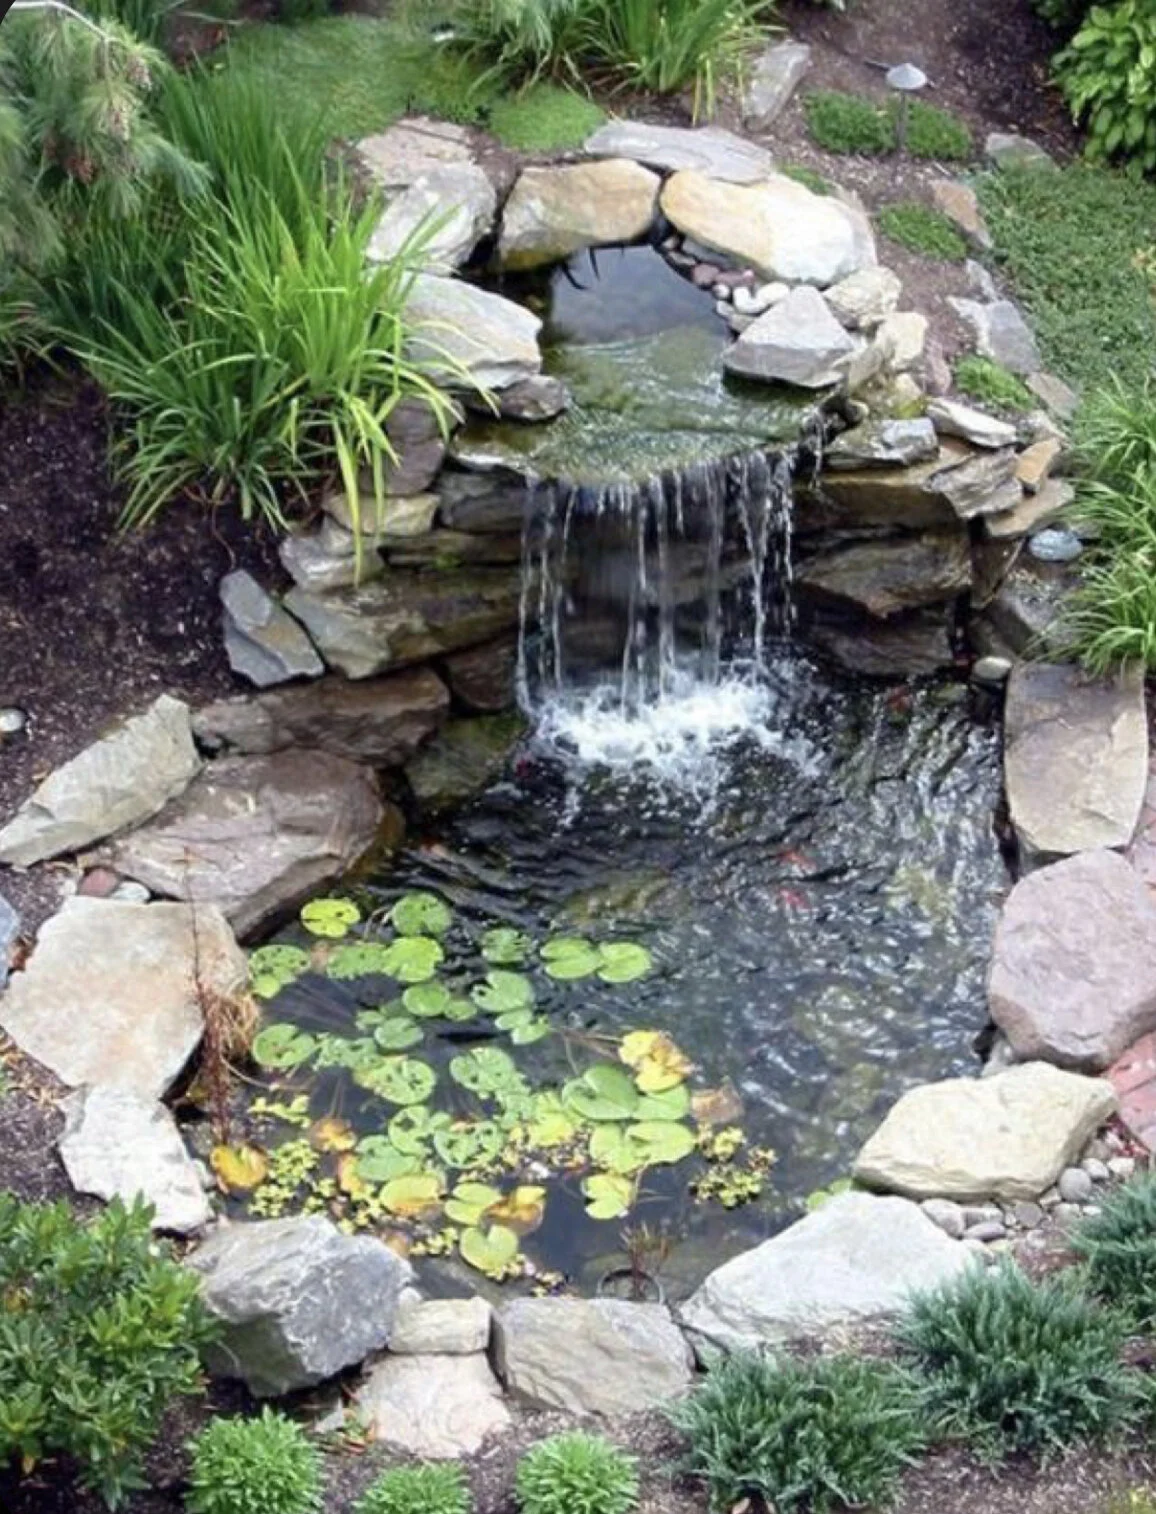
The most beautiful thing about a waterfall is the sound of running water. A river, creek or stream is perfect for creating your own waterfall, but sometimes you need something smaller. If you want to add a little bit of serenity to your backyard or garden but don’t have much space, consider building a pond with a small waterfall.
Building a small waterfall is easy if you know what to do. This article will show you how to build a pond and create a small waterfall.
1. Dig the Hole
Before you can put in your pond and build the waterfall, you must dig the hole for it. For this project, we will be using an old bathtub as our pond liner. You can also use plastic sheeting or any other type of waterproof material that has been cut into pieces and laid out on top of each other (similar to how they make tarps). The hole needs to be deep enough so that when you place your liner inside it doesn’t touch the bottom – otherwise water will leak out through the bottom once everything is filled with water!
How to build a small pond waterfall step by step
Building a small pond waterfall is an easy and fun project that can be completed in a weekend. You can even use the same techniques to build larger waterfalls, or incorporate them into your landscaping.
Step 1: Site Selection
The first step in building your small pond waterfall is to pick a location for it. The best spots are those that have good drainage but are still partially shaded. This will protect your pond from sun damage and help keep it cool.
Step 2: Digging
Dig out an area for the pond so that it will be deep enough to hold water, but not too deep that you have to worry about leaks or flooding in heavy rains. The depth of the pond will depend on how much water you want flowing over your rocks as well as how much room you have available for digging. A general rule of thumb is to dig down at least twice as deep as your rock pile will be tall, so if you want a 10’ tall pile of rocks then dig down at least 20’ deep before filling it back in with dirt and gravel.
How to Build a Small Pond Waterfall Step by Step:
1. Find a site for your pond. Make sure it is level and not too close to your house or other buildings.
2. Dig out the hole for the pond to the size you want it to be (I recommend at least 4 feet deep). Make sure that when you fill it up with water, there are no air pockets in the ground around the edges of the pond. This will allow water to drain out of those areas if it rains so that you don’t have flooding!
3. Ensure that there are no pipes or other things in the way where you plan on putting your pond (you don’t want your new pond leaking into existing systems!). If there is anything in the way, move it or remove it first before continuing with step 4 below.
4. Put down a layer of gravel or sand at least 4 inches thick on top of any grass or weeds in order to prevent them from growing back through and damaging your liner later on down the road!
The first step to building a small pond waterfall is to pick out your spot. A waterfall can be placed anywhere in your landscape, but it’s best not to place it under trees or overhanging branches.
Once you’ve picked out a good spot for your pond, start digging! Make sure that the dirt is nice and smooth and that there are no large rocks or roots in the way. If possible, dig up some of the dirt around the area so that you can use it to make a little dam on one side of the pond. This will help control how much water goes into the waterfall and will prevent flooding or leaks from occurring later on down the road.
The next step is to build a small dam with rocks around one end of your pond. You should have enough rocks left over from digging out your hole for this purpose, but if not, you may need to go buy some more at your local garden center or hardware store. Once you have built up a nice little wall with rocks around one end of your pond, make sure that it is level with both sides so that no water will leak out through any cracks between rocks or gaps in mortar between them.
In this post, we will show you how to build a small waterfall with rocks. This is a very easy project and it will take about 2 hours for the whole process.
The first thing you need to do is prepare the rocks for this project. If you want to make a small waterfall, you can use any kind of rock that you like, but if you want to make an impressive one, then we recommend using large boulders.

Next, create the plan for your pond. You should have in mind where you want to put your pond and how big it should be. After doing that, mark out the area where you plan on putting it and remove any grass or weeds that are in this area.
Now place the rocks into position by digging holes in the ground where they will go with a shovel or trowel and placing them inside once they’re dug out. Make sure that all of your rocks are level before moving onto step 3!
Step 3: Place Gravel Around The Rocks
Once all of your rocks are level in their holes and situated correctly around your pond, cover them with gravel so they look more natural! You can buy gravel at most hardware stores or landscape supply stores and it comes in many different colors so choose
Step 1: Select the location of your waterfall
The first thing to do is to find a location for your pond. You can put it anywhere, but here are some tips on how to choose the best one:
1. Your pond should be near your house or another building. This way, you will not have trouble walking to it in case something happens. Also, if you live in a rural area, placing the pond near your house will make it easier for you to take care of it.
2. Your pond should be far away from other sources of water (streams, rivers, etc.). If there are any nearby streams or rivers, you can use them as an irrigation source for your pond and save money on pumps and pipes.
3. Choose an area that has lots of sunlight during most hours of the day so that plants can grow properly.