Have you ever wanted to build a wall but didn’t want to fork out thousands of dollars on materials? Or perhaps, like me, you’re just a thrill seeker who doesn’t like spending money on unnecessary things. Below I’ll take you through the process of building a makeshift barrier using wood pallets.
How to build a wall out of pallets, how to build a pallet wall backdrop, how to attach pallet wood to concrete wall – In this article I am going to teach you how to build a wall out of pallets. Pallets and crates are common, cheap, easily accessible and easy to use from every day in your DIY projects. The more you know about them, the less intimidated you will be.

How to build a wall out of pallets
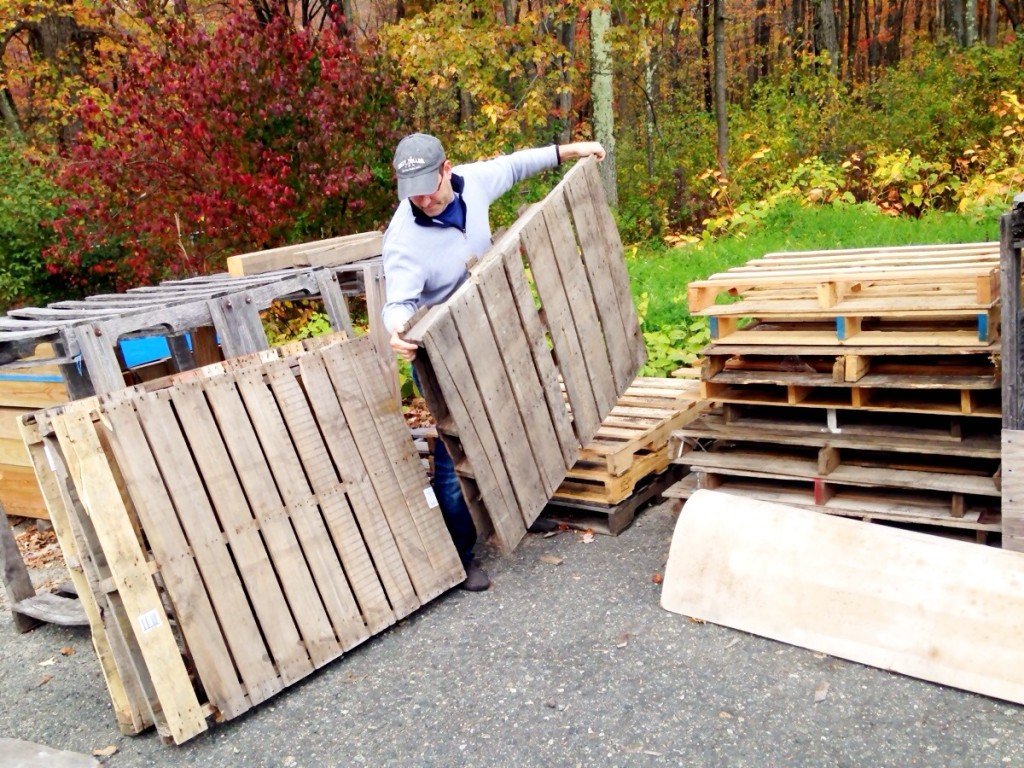
Step 1: Prepare Your Pallets
This step is really important! If you’re making a large backdrop for your home or office, you’ll want to take the time to properly prepare each pallet before it’s installed. This means taking off all of the nails and screws that were used to keep the boards together during transportation. You can use a hammer or pry bar for this step. If you have access to power tools, an electric screwdriver works great. Be sure not to use any power tools where they could damage anything else in your home or office!
Step 2: Cut Board Lengths & Measurements
Once all of your boards are free from nails and screws, it’s time to cut them down into manageable pieces. For example, if you have four different sizes of pallets with different lengths and widths, you can measure out each section by placing them next to each other and marking where those points meet up on both ends of the board (see image). Now cut along those lines with a saw or other cutting tool.
So you have these awesome pallets and you want to use them as a wall backdrop. But how can you build a wall that will last? Here are some tips on how to build a pallet wall backdrop.
* Use good quality wood. You don’t want your pallet wall to fall apart, so make sure you use good quality wood that is not too thin or warped.
* Cut all the pieces of wood at the same length so that they lay flat against each other. If one piece is shorter than another, it will create an uneven surface which will be noticeable when you hang your backdrop up. In addition, this unevenness may cause the wall to bend slightly over time, making it very difficult to hang on a smooth surface such as concrete or plasterboard.
* Use nails or screws instead of glue or staples when attaching the planks together. Nails and screws hold better over time than glue or staples and allow for easier removal if needed or if you want to change things around later on down the track!
Pallet walls are an easy way to add character and style to your home. They are also one of the best ways to use up leftover wood from other projects. You can build a pallet wall in any shape or size, as long as you have enough pallets.
How To Build A Pallet Wall Backdrop
Start by measuring the area where you want to install your pallet wall backdrop. Mark out the dimensions with tape and chalk. If necessary, cut more pallets to fit within these lines so that they will form a solid surface.
Attach each layer of pallets with nails, screws or staples. Use clamps or weights to hold them in place while you secure them firmly together with screws or nails at every connection point. Be sure that no gaps exist between any two pieces of wood before proceeding further with this project.
Finish off the edge of each layer by adding another layer of pallets or simply build your way up until you reach the height that you want for your backdrop.
Step 1 – Prep the Wall
The first step in building a wall out of pallets is to prep the wall. This includes cleaning and painting the wall, along with attaching hooks where you plan on hanging your pallet wall.
Step 2 – Attach the Pallets
The next step is to start attaching your pallets. Make sure that each board is securely attached with nails or screws. If you’re using nails, make sure you use them sparingly so they don’t show through too much on the front side of your wall art.
Step 3 – Hang Your Wall Art
Once your pallet wall is finished, it’s time to hang your wall art! Use hooks, nails or screws to attach each piece where you want it on your new wall decor.
A pallet wall is a great way to add some DIY character to your home. It’s also a quick and easy project that anyone can do.
A pallet wall is simply a wall made of pallets. You can use the boards from just one or many different pallets, but it’s important to note that the more boards you use, the better the overall look will be.
First, gather up all of your materials and tools. You’ll need:
– Nails (the smaller the nail head, the less visible it will be)
– Hammer or nail gun
– Tape measure
– Level
– Pencil
– Saw (if you don’t have one already)
How to build a pallet wall backdrop
Pallet wood is one of the most interesting and useful materials you can use to create your own backdrop. It is extremely easy to find, versatile and cheap. The best part is, you can make your own wall backdrop with it!
No nails needed!
Pallet wood is a great material to use for building projects. It’s easy to work with and incredibly versatile. You can use pallet wood to create all kinds of furniture, from beds and shelving units to tables and chairs.
One of the most popular uses for pallet wood is to build a wall backdrop for photography or movie sets. The backdrop looks great when it’s painted white or covered with fabric, but you can also leave it unfinished if you want a rustic look.
Build a Pallet Wall Backdrop.
Step 1. Start by choosing the pallets that you want to use for your backdrop. You can use any size or style of pallet but we recommend using ones that are similar in size and shape so they will look cohesive when you put them together. We chose to use smaller pallets as they are easier to work with, especially if you don’t have much experience building with wood or working with power tools. If you have larger pallets then make sure to use a table saw or circular saw to cut them down into smaller pieces before building the backdrop.
Step 2: Cut the boards down to size and sand each board until it is smooth enough for painting or staining (optional). We didn’t want ours to be stained so we only sanded them once on both sides then left them unfinished for now so that we could paint over them later. The amount of sanding required depends on how rough your wood is and how large your pallet wall pieces are going to be as well as how many coats of paint or stain you plan on applying. You can always sand more later if needed!

How to build a DIY Pallet Wall Backdrop
A pallet wall backdrop is a great way to add some rustic charm to your home or event space. It’s also surprisingly easy to make, especially when you use the right tools. In this tutorial, we’re going to show you how to build one of these backdrops using only pallets and a few hooks. You’ll be able to create one for any size space, but we recommend starting with a large one if you’re looking for something that will fill up an entire wall.

Materials:
20+ pallets (use smaller ones for the middle layer)
Paintbrush
Staple gun and staples
Hammer or nail gun (optional)
A pallet wall is a great way to add a rustic, industrial feel to your home. It’s also cheap and easy to build, and can be customized to fit any space.
In this tutorial, we’ll show you how to make a DIY pallet wall backdrop. This project can be made in any size or shape, but we chose to create one that looks like an old warehouse.
If you want to create a similar look for your home or office, here’s what you’ll need:
Materials:
2x4s (1″ x 3″ boards will work as well)
1x4s (for the crossbars that connect the 2x4s)
Nails (galvanized) or screws (wood or metal)