Nothing screams summer like the smell of hot dogs, black smoke and the distinctive odor of 1,000 melting plastic waffle cones. Okay so maybe I wasn’t on a real-life hot dog cart, but one day when I was home sick from school and unable to eat oh-so-tempting chicken soup my mother thought it would be a good idea to let me get some fresh air by taking me for a walk. While walking, down our street we passed an ice cream truck.
Building an ice cream cart is one of the great summer DIY projects. Building one yourself will save you money and look very cool in your neighborhood. Ice cream carts are a pure classic, both in shape and function. I think they’re even better looking than an old-fashioned hot dog cart. Also, they don’t smell like hot dogs! They can be bought online as kits, but I’m going to show you here how to build one from scratch.

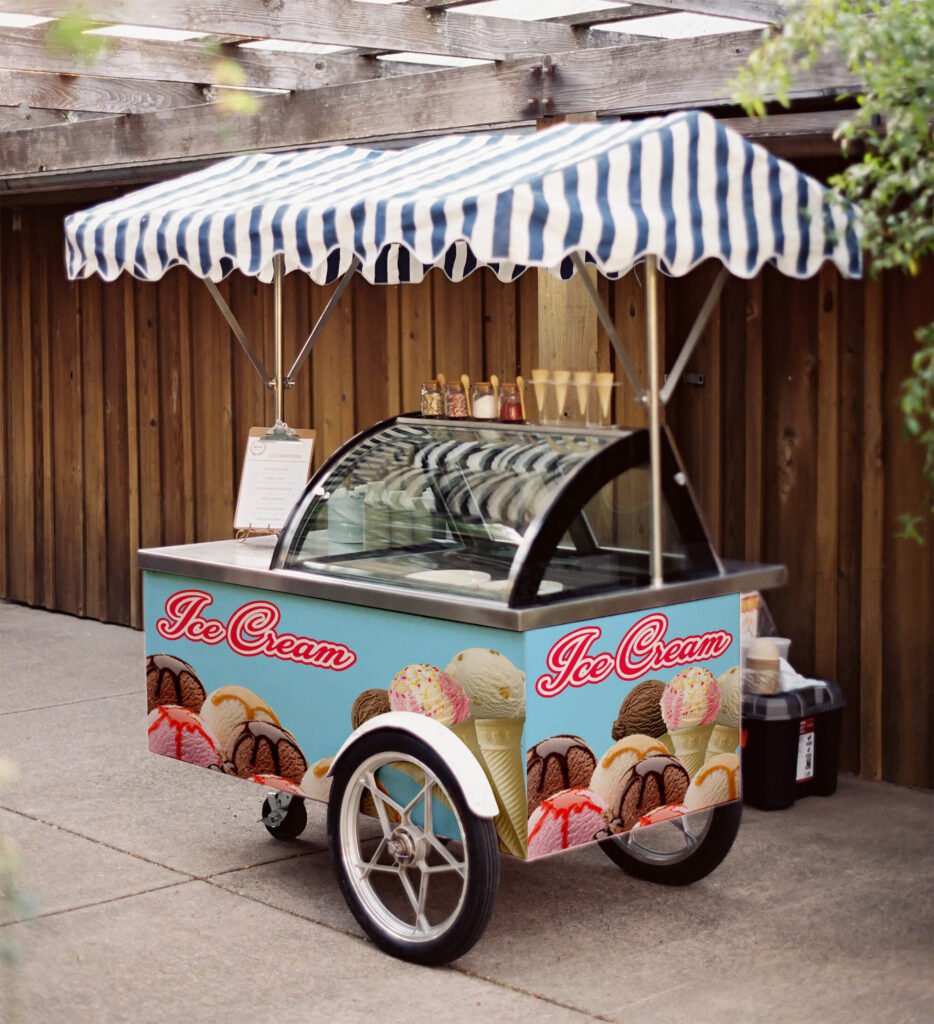
How to build a ice cream cart
The ice cream cart is a simple project that you can build in your garage or shop. It’s designed for use with a standard-size refrigerator, and it features an open front for easy access to the freezer compartment. The cart also has an overhead shelf and a door that locks to keep the contents secure.
The cart consists of four basic parts:
A base frame made from 2x4s
An overhead shelf made from ¾-in.-thick plywood sheets
A lower shelf made from ½-in.-thick plywood sheets
A door with a lock on one side, hinged at the top, and attached to the base frame with hinges on both sides

1. Cut the wood and assemble the frame. Use 2x6s for the frame and 2x4s for the base. Cut them so they fit together in a rectangle, as shown in the picture above. Drill pilot holes, then screw every joint together with 3″ deck screws (or longer if you have them). To make sure everything fits together nice and square, clamp an extra 2×4 to your work surface before you start drilling and screwing. That way you can use it as a guide for getting everything lined up perfectly, as shown in step 3 below.
2. Attach wheels to bottom of your cart (optional). If you want to add wheels so that your cart can be easily moved around on smooth surfaces like hardwood floors or concrete sidewalks (instead of just being wheeled around on grass), choose two sturdy caster wheels that are at least 8″ tall (they should have a maximum load capacity of 200 pounds each). Mark where they should go on each corner of your frame, then drill pilot holes through both pieces of wood and attach them together with 3″ deck screws (or longer if you have them). Be sure not to cover any pilot holes on top piece of
To build an ice cream cart, you will need the following materials:
– Plywood (1/4″ thick)
– Wood glue or nails and screws
– Galvanized steel sheet metal (1/16″ thick)
– Wood dowels (1/2″ diameter)
– Hardware cloth (1/8″ mesh)
– Metal straps (1/2″ wide by 1/8″ thick)
– Gloves, safety glasses, and protective clothing
1. Choose the location of your cart.
2. Purchase the necessary equipment and materials.
3. Build or order your cart.
4. Install the cart and get it ready to open for business!
Building a business on the side is a dream come true for me. I’ve always wanted to have my own business, but never had the courage to take the leap.
I’ve been working on my ice cream cart project for months now, and it’s finally getting close to being finished.

Here’s how I did it:
Step 1: Find a good location
It’s hard to be profitable if you’re selling from your home or apartment. So find somewhere else to set up shop — like outside a supermarket or grocery store — where there are lots of people passing by all day long.
You’ll also want to find a place that’s close enough to your home so that you don’t have to pay for parking or gas every day, but far enough away that you wouldn’t be able to walk back and forth each day (unless you’re willing to get some exercise).