The very first thing that you need to figure out is where exactly you want to place your hut and how high off the ground it should be. There are different kinds of trees scattered around the forest; some have large trunks, some have medium sized trunks, and there are even smaller ones as well. You can also use different materials to build your hut. The important thing is to make sure that they work with the area in which you plan on building your hut.
When choosing to live off the grid, you will quickly discover how difficult it is to find real and valuable information related to living a self-sufficient lifestyle. The information you do get will be scattered at best.
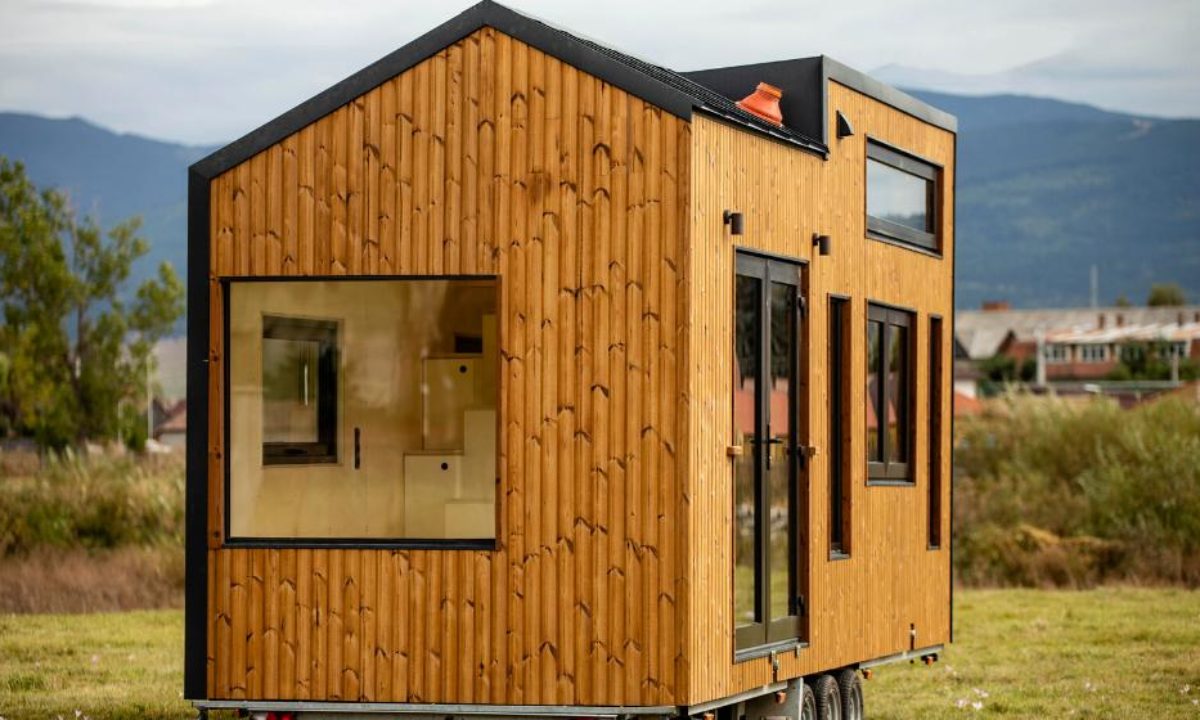
How to build a hut
Building a hut is an easy project that can be completed in a weekend. A hut will provide you with a small, weatherproof structure that can be used for many purposes. Huts are often used as storage sheds or as places to sit and relax. They are also good for temporary shelters during camping trips or to store things such as gardening tools and other outdoor items.
If you have the right tools and materials, you can build a hut in just three hours. Here’s how:
Step 1 – Find the Right Spot
The first step to building a shed is finding the perfect location for it. You need an open space that is level, clear of debris and has access to water and electricity if needed (such as for an air conditioner). If you want your shed to be portable so that you can move it around when needed, then find an area where there are no trees or other structures. You should also make sure that the area gets enough sunlight so that plants inside won’t wilt or die from lack of light exposure.
Step 2 – Prepare the Ground
After selecting your building site, prepare the ground by clearing away any debris, weeds or rocks from the area so they don’t interfere with construction later on down
The first step in building your own hut is to find a suitable location. This can be on your private property, if you have enough space and permission from your landlord or partner. It can also be in a public park or other green space. The ideal location is one that has access to water and power outlets, but is not visible from the street.
Once you’ve located your site, clear away all debris so that you have bare earth to work with. Use a shovel for digging holes for post holes and hammering stakes into the ground. You will also need to dig drainage ditches around the outer edges of the hut so that rainwater flows away from it easily.
To build your hut, you will need two posts at each corner of the structure – these should be about six feet high with holes drilled through them for securing ropes or screws which will support the roof beams later on. These are known as ‘sills’ and should be placed about five feet apart on either side of the opening in your hut (if there is one).
Building a hut is not a difficult task. You will need to gather some materials and follow the steps below.
Step 1: Build a foundation. The first step is to build a foundation for your hut. Make sure it is strong enough to support the weight of all of your materials, as well as any animals that may be living in it.
Step 2: Build walls. Once you have built your foundation, start making the walls out of mud and grass by laying them on top of each other until they are at least one foot tall. Make sure that the wall has some space between each layer so that light can get through it. If you want extra insulation, put hay or straw between each layer as well
Step 3: Make doors and windows using sticks and mud in order to keep heat inside during colder months and allow air flow during warmer months
Step 4: Put roofs on huts by laying branches over top of one another until the roof reaches at least one foot above ground level
Building a hut is a great way to spend a weekend. It can be done cheaply and easily, and it’s also an excellent way to learn about carpentry. This guide will show you how to build a hut in your back yard that can sleep several people.
Step 1: Measure the Site
First, measure the area where you want to place the hut. The size of this area will determine the size of your hut, so it’s important that you get this measurement right. You don’t want to end up building something too small or too big for the site. For example, if you have an area that measures 20 feet by 20 feet, you could build a 12-foot-by-12 foot hut, which would give you plenty of space for sleeping but not much room for anything else. If this is your situation and all you need is somewhere to sleep then go ahead and build one like this but if not take some time to consider whether there might be any other uses for your hut before building it.
Step 1: Lay down the floor
The first step in building a hut is to lay down a floor. You can use wood or bamboo for this. The floor should be about 5 feet by 7 feet and about 2 inches thick. You may want to put some padding on it too, so the floor doesn’t hurt your back when you sit on it.
Step 2: Build up the walls
You need at least two walls to start with, but more are better. If you have enough people helping you, you can build all four walls at once. If not, just build one wall at a time and then move on to another one when that one is done. The walls should be as high as you think they are going to be (usually around 6 feet tall), but don’t make them too tall because otherwise it will be hard for them to stand up straight! Make sure that each wall has plenty of support beams so that it won’t collapse under its own weight. Each beam should be about 3 feet long and about 1 inch thick (or whatever size fits best into your design). Use nails or screws to attach the beams together so that they don’t fall apart later on (you can also use rope if you’re really desperate!).
Step 3: Add
This is a step-by-step guide on how to build a hut in the woods. It’s not difficult, and can be done with basic tools.
1. Find the right spot
The first step is finding a suitable location for your hut. Look for areas that are sheltered from wind and rain but also have enough sun exposure to keep the temperature inside comfortable. Avoid building near streams or rivers because these areas will be prone to flooding during heavy rains or snowmelt. If you’re looking for hot summers and cold winters, consider building on higher ground so that you are above any potential floodwaters. You can also check with local authorities about any restrictions that might exist in the area where you plan on building — for example, some parks or conservation areas may prohibit certain kinds of construction work.
2. Mark out the foundation
Once you’ve found an ideal spot, mark out where your foundation will go using stakes and string tied around them at even intervals along its perimeter (Image 1). This will help ensure that all parts of your foundation meet perfectly at right angles so that they don’t sag or lean over time due to shifting dirt beneath them (Image 2).
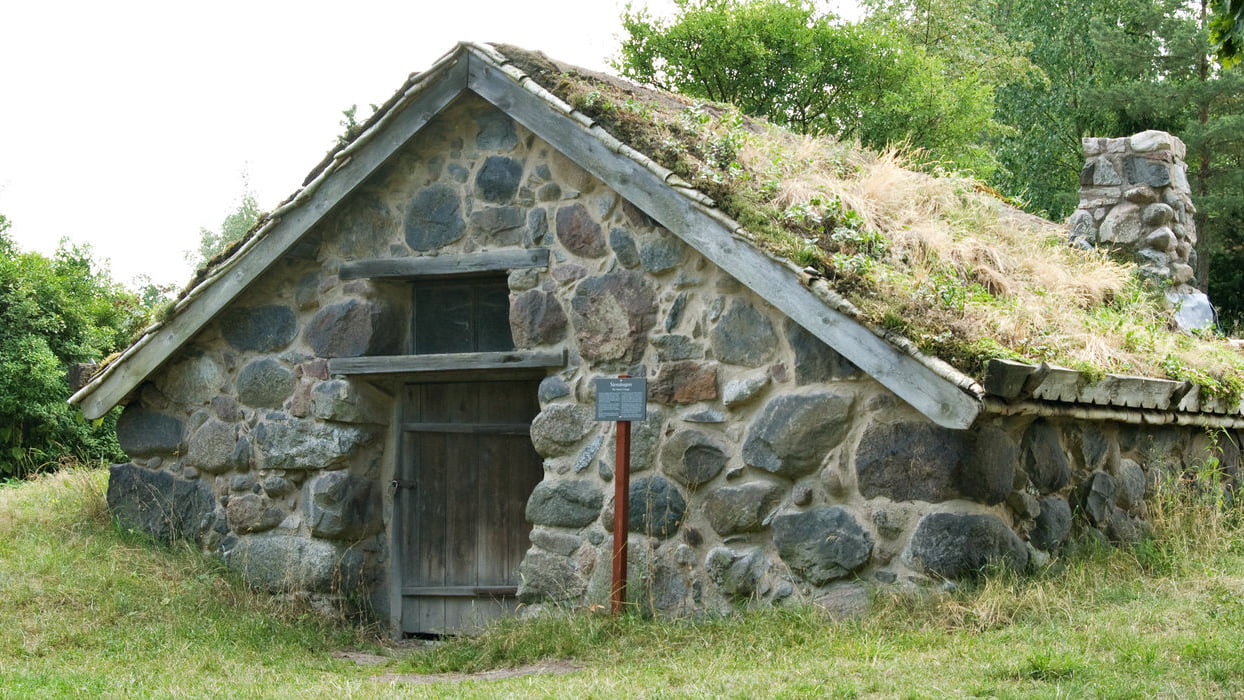
How to build a hut in the woods
This is a great project for anyone who wants to learn how to cut and fit roofing, or anyone who wants to try their hand at making their own shelter. This hut is small, easy to build, and inexpensive. It should take less than a day to construct.
Materials:
2x4s – At least six (6) feet long. You’ll need two (2) 10′ 2x4s and four (4) 8′ 2x4s.
1/2″ plywood – One sheet at least 16″ x 32″. A little extra won’t hurt either!
Roofing shingles – Depending on how much money you want to spend, you can get away with as few as five (5) bundles of shingles for the entire roof. However, if you want a better quality roof that will last longer and look nicer then go ahead and buy ten (10) bundles or more.
In this guide, I’m going to show you how to build a simple hut in the woods.
This is not an original idea. It is something that has been done for centuries by people all over the world. The only difference between a hut and a tent is that huts have more than one room and can be built from permanent materials.
The biggest advantage of building your own hut is that you will have built it yourself, so it will not only be yours but also reflect your personality. You will also know everything about it and if something goes wrong, you will be able to fix it.
Building a hut is not easy but it is not difficult either. If you are willing to work hard and spend some time on it, then nothing can stop you from building an awesome hut in the woods!
Building a hut in the woods is a great way to get back to nature and enjoy some peace and quiet. In this article, we’ll show you how to build a hut with minimal tools, materials, and effort.
What is a Hut?
A hut is an enclosed building that provides protection from wind and rain. They are often small and simple structures that are easy to build in remote areas away from towns or cities.
Why Build A Hut?
Huts were traditionally used as shelter by hunters and explorers who were looking for food or gold. Today, huts are used as summer homes or retreats away from the hustle and bustle of city life. They can also be used as shelters for hikers or mountaineers when they’re caught in bad weather on their way through the mountains
A temporary shelter can be a great asset when you need a place to rest during your time in the woods. A hut is one of the easiest forms of shelter to build and will keep you out of the elements for a few hours at least. The construction process for huts is fairly simple and requires minimal tools.
Step 1: Gather Materials
The materials needed for this project are fairly basic and can be found in most backwoods locations. You’ll need long branches, vines or bark strips, cordage and some kind of tarp or other waterproof covering material. When choosing your branches, look for ones with flattened ends that will make it easier to tie them together into a structure.
Step 2: Start Building the Frame
Begin by placing two long branches parallel to each other on the ground with about three feet between them. Tie each branch securely at its center point so it won’t move around while you work on building the rest of your hut frame. Make sure you use plenty of cordage so there are no gaps between the branches when they’re tied together as this will weaken your structure’s strength considerably! Next, tie another pair of branches onto each end of your original pair using similar techniques as before but with more distance between them than before (about
We use cookies on our website to give you the most relevant experience by remembering your preferences and repeat visits. By clicking “Accept All”, you consent to the use of ALL the cookies. However, you may visit "Cookie Settings" to provide a controlled consent.
This website uses cookies to improve your experience while you navigate through the website. Out of these, the cookies that are categorized as necessary are stored on your browser as they are essential for the working of basic functionalities of the website. We also use third-party cookies that help us analyze and understand how you use this website. These cookies will be stored in your browser only with your consent. You also have the option to opt-out of these cookies. But opting out of some of these cookies may affect your browsing experience.
Necessary cookies are absolutely essential for the website to function properly. These cookies ensure basic functionalities and security features of the website, anonymously.
Cookie
Duration
Description
cookielawinfo-checkbox-analytics
11 months
This cookie is set by GDPR Cookie Consent plugin. The cookie is used to store the user consent for the cookies in the category "Analytics".
cookielawinfo-checkbox-functional
11 months
The cookie is set by GDPR cookie consent to record the user consent for the cookies in the category "Functional".
cookielawinfo-checkbox-necessary
11 months
This cookie is set by GDPR Cookie Consent plugin. The cookies is used to store the user consent for the cookies in the category "Necessary".
cookielawinfo-checkbox-others
11 months
This cookie is set by GDPR Cookie Consent plugin. The cookie is used to store the user consent for the cookies in the category "Other.
cookielawinfo-checkbox-performance
11 months
This cookie is set by GDPR Cookie Consent plugin. The cookie is used to store the user consent for the cookies in the category "Performance".
viewed_cookie_policy
11 months
The cookie is set by the GDPR Cookie Consent plugin and is used to store whether or not user has consented to the use of cookies. It does not store any personal data.
Functional cookies help to perform certain functionalities like sharing the content of the website on social media platforms, collect feedbacks, and other third-party features.
Performance cookies are used to understand and analyze the key performance indexes of the website which helps in delivering a better user experience for the visitors.
Analytical cookies are used to understand how visitors interact with the website. These cookies help provide information on metrics the number of visitors, bounce rate, traffic source, etc.
Advertisement cookies are used to provide visitors with relevant ads and marketing campaigns. These cookies track visitors across websites and collect information to provide customized ads.